 EN
EN


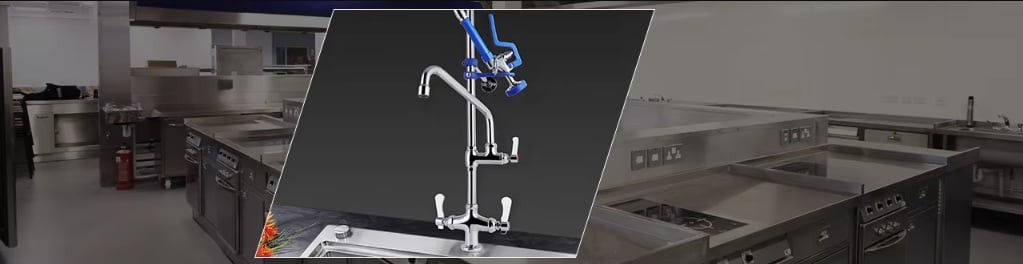
How to use a spray faucet for versatile kitchen cleaning.
Start with the Right Spray Pattern for the Task
A spray faucet in a commercial kitchen isn’t a one-trick pony. The versatility comes from understanding which spray pattern works for which job. Most commercial spray faucets offer at least two modes: a concentrated jet for heavy-duty residue and a wider spray for general rinsing. Some premium units include a pause function that stops flow without shutting off the faucet entirely.
The concentrated jet is for the tough stuff—baked-on cheese, dried starch, stuck-on sauce. The wider spray works better for rinsing large surfaces like sheet pans or for wetting down prep areas. Using the wrong pattern wastes water and time. A diffused spray on a crusted pot does almost nothing. A high-pressure jet on delicate greens destroys them.
One kitchen manager at a 300-seat brewpub in Portland documented spray pattern usage across a dinner service. The high-pressure setting accounted for 72 percent of total spray time, primarily on pots, pans, and utensils. The wider spray was used almost exclusively for rinsing produce and cleaning down stainless steel tables. Staff who understood which pattern to use completed dish station tasks 18 percent faster than those who didn’t.
Master the Trigger Technique for Control
The spray trigger isn’t an on-off switch—it’s a variable control. Squeezing fully delivers maximum pressure. A lighter squeeze reduces force without changing the spray pattern. This matters more than most operators realize.
For removing heavy food debris, full pressure works best. For rinsing foam or loose particles off surfaces, a partial squeeze saves water and prevents splashing. For delicate items like leafy greens or freshly washed herbs, the lightest possible trigger pull combined with a wider spray pattern keeps the product intact.
A common mistake is treating the trigger like a binary control. That leads to either insufficient cleaning power or unnecessary water waste. Training staff on trigger modulation takes about five minutes and pays off across every shift.
Position the Spray Head for Maximum Efficiency
The angle and distance of the spray head relative to the surface being cleaned dramatically affect results. Holding the spray head too close concentrates the force into too small an area, requiring more passes to cover the surface. Holding it too far away diffuses the pressure and reduces cleaning effectiveness.
The sweet spot for most commercial spray faucets is about 6 to 10 inches from the surface, at a 45-degree angle. That angle allows the water to hit with enough force to dislodge debris while directing the spray away from the user. Straight-on spraying tends to splash back. Too shallow an angle slides off without doing much work.
A large institutional kitchen in Ohio measured the impact of spray head positioning during their dishwashing operations. Staff trained on proper angle and distance reduced average rinse time per pot from 14 seconds to 9 seconds—a 36 percent improvement—without any change in equipment or water pressure.
Work from Top to Bottom and Back to Front
This sounds obvious, but watch a dish station for twenty minutes and it’s clear that not everyone follows the principle. Spraying from the top down lets gravity assist in carrying debris away. Starting at the bottom pushes residue upward and often results in re-contaminating already-cleaned areas.
The same logic applies to back-to-front motion. Spraying from the back of the pot or pan toward the front pushes debris off the edge. Spraying from front to back pushes it toward the user and often traps residue in corners or along the rim.
For sheet pans and flat surfaces, a systematic overlapping pattern ensures complete coverage. Think of it like mowing a lawn—each pass slightly overlaps the previous one. This prevents missed spots and reduces the need for repeated passes over the same area.
Integrate Spraying into the Full Wash Cycle
The spray faucet is the first step in a three-part cleaning process: spray, wash, sanitize. It’s not a replacement for the other two steps. The spray removes visible food debris so the wash cycle can do its job and the sanitizer can be effective. Sanitizers don’t remove food soil—they kill microorganisms. If debris remains, sanitizers can’t reach the surface underneath.
Using the spray faucet effectively means removing all visible residue before items go into the dishwasher or three-compartment sink. A quick once-over isn’t enough. The spray should leave surfaces visibly clean, with no chunks, film, or greasy spots.
A catering operation in Las Vegas tracked their dishroom efficiency before and after implementing a standardized spray protocol. The old method—spraying until things looked “good enough”—resulted in 12 percent of items needing re-washing. After implementing a clear visual standard for spray cleanliness, that rate dropped to 2 percent. The kitchen saved 45 minutes of re-wash time per shift.
Use the Pause Feature to Conserve Water
Many commercial spray faucets include a pause or hold function. It’s easy to overlook, but using it correctly saves water and reduces strain on the operator. Instead of releasing the trigger and re-engaging it repeatedly—which cycles the spray valve and creates wear—the pause function stops flow while keeping the valve in a ready state.
The water savings add up. A standard pre-rinse sprayer flows at about 1.8 GPM. If a dishwasher uses the spray for 30 minutes total across a shift, that’s 54 gallons. Reducing active spray time by even 20 percent through effective pausing saves more than 10 gallons per shift—over 3,000 gallons annually for a single station.
| Technique | Common Mistake | Better Approach |
|---|---|---|
| Trigger control | Full pressure always | Modulate based on debris level |
| Spray angle | Straight-on or too shallow | 45-degree angle, 6–10 inches away |
| Motion pattern | Random or front-to-back | Top-to-bottom, back-to-front |
| Pause use | Release trigger between items | Use pause function |
| Coverage | Quick once-over | Systematic overlapping passes |
Clean the Spray Nozzle Regularly
Spray performance degrades over time. Mineral buildup from hard water, debris from food particles, and general wear all affect the spray pattern. A nozzle that once delivered a tight, powerful jet can gradually become weak and uneven.
Cleaning the nozzle doesn’t require special tools or expensive chemicals. Soaking the spray head in a descaling solution—white vinegar works well and costs very little—for a couple of hours dissolves mineral deposits. A small brush helps remove any remaining debris. Doing this every couple of weeks prevents performance degradation before it becomes noticeable.
One restaurant group with five locations made nozzle cleaning a weekly checklist item. Within two months, they saw a 15 percent reduction in spray time across all locations. The sprayers worked more efficiently simply because they were kept clean.
Manufacturers like Jmyouchu engineer their spray faucets with these real-world usage patterns in mind—durable triggers, replaceable nozzles, and ceramic cartridges that maintain consistent performance under heavy daily use.